I hope you enjoy making this cute little birdseed ornament recipe as much as the birds enjoy eating them!!! This tutorial is inspired by the “nature themed” Target wedding I posted last week. I showed the heart shaped birdseed ornaments as favors to give to the guests. These would be cute to give as wedding favors, but would also be a fun little gift to give a friend or teacher at Christmas.
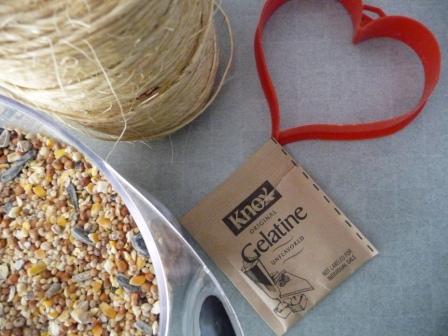
Things needed for this project:
Makes 1 Large ornament or 2 med/small size
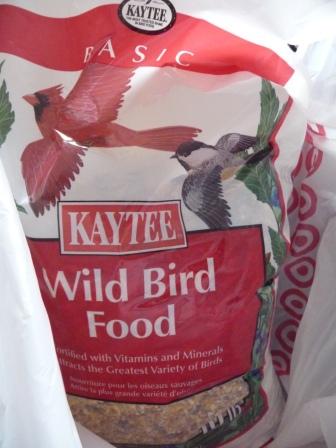
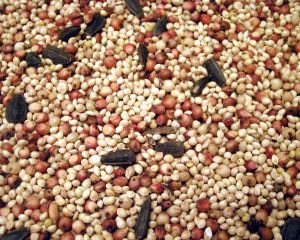
3/4 c. Birdseed – (I purchased this birdseed mix from Target)
1 sm packet of Knox
Twine, raffia or wire for hanger (don’t use bright colored ribbon, it scares the birds away)
a mold of some sort….. I used a heart shaped cookie cutter
1/4 c. water
Dissolve a packet of Knox in 1/4 c. of water, bring to simmer and stir until dissolved. Let cool slightly.
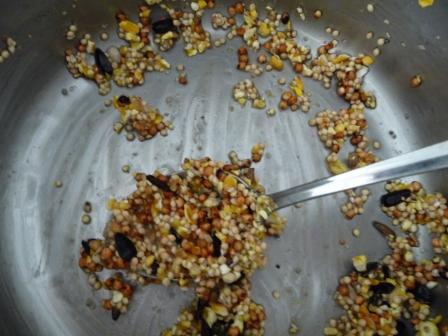
Add 3/4 c. bird seed and mix very well until seeds are coated. Notice the picture of the birdseed in the pan, I don’t have a lot of excess liquid…if you have a lot of puddling add a little more seed.
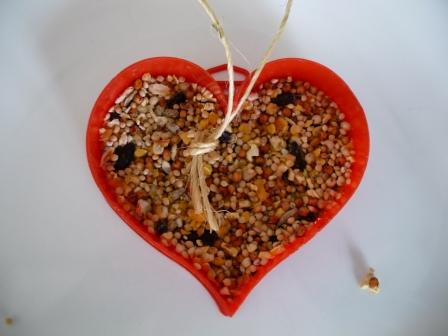
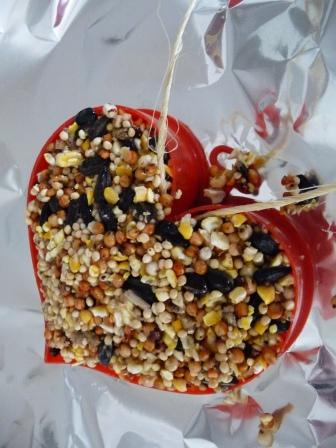
Spoon the seeds into a mold, filling it half way up, and pressing down to make sure it is well packed. Lay tied twine on top of the pressed seed, and fill up the rest of the way so twine is fully covered. I put mine in the freezer for a few hours so I could easily unmold the ornament. Let it dry out for a few days …flipping it so it drys out completely on both sides and all the way through. You want it really hard and totally dried out so you can hang it in your tree. Position it in a place where birds can rest and eat.
**I just added a few revisions to the instructions. Someone mentioned in a comment that their ornament got moldy after it was sitting a few days. I haven’t had that happen, but I added that you need to flip it so it dries out really well on both sides and all the way through. Mold needs two things to grow …moisture and darkness.
I’ve never made these in a large quantity and very far in advance. Caution: If you are making these for a wedding, I would suggest doing a trial run. If for some reason you don’t have success making them, I would decide on a different favor for your wedding…I would hate for you to have stress. I plan on testing them myself. The biggest thing I would focus on is totally drying them out, even if it takes a week. After they get hard, I would find a place to hang them all so there is air in between each one and I would store them hanging. I suggest wrapping them in cyclophane with a cute twine or ribbon as close to the wedding as possible. Then all you need to add is a sticker or a cute tag. * You could also place a cut straw in the middle or upper lobe of the heart and press the seed around it. You would remove the straw after it is dry. This will leave you with a hole for your ribbon to slide into. (Just another idea)
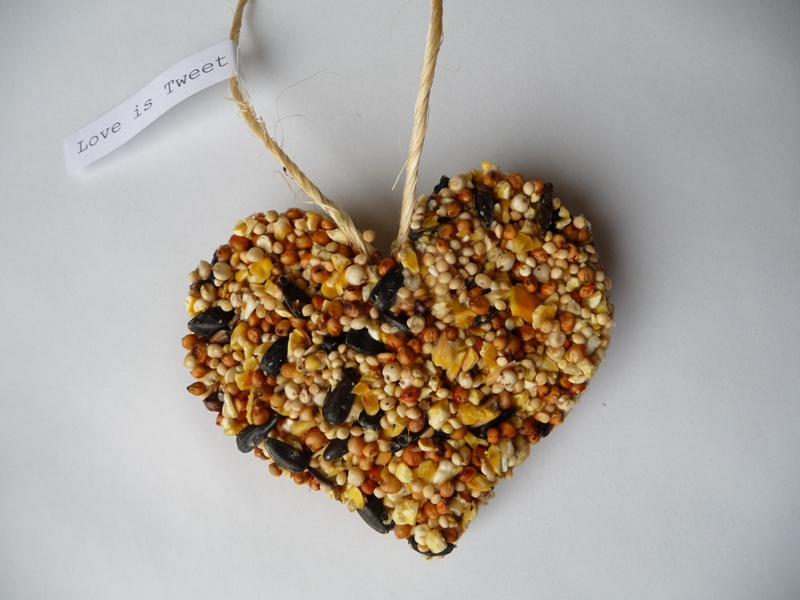
If using it as a favor, wrap in clear cellophane and tie with raffia or twine and attach a cute tag.
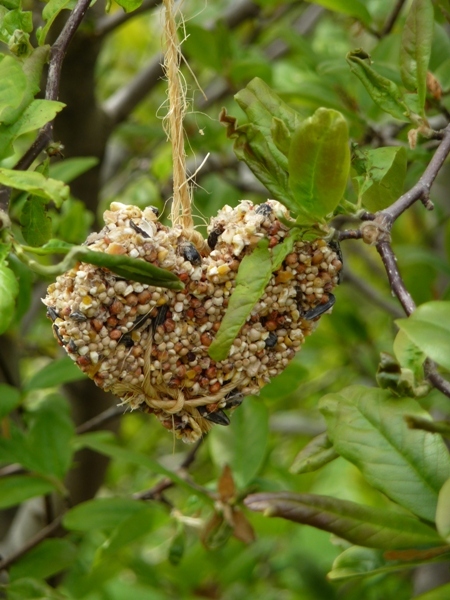
I snapped a picture of my half eaten birdseed feeder, proof of the birds love!!! :)…. I wish I could catch them in action!!!
I’m linking up to Tasty Tuesday and DIY Day !
Does anyone recall how long these take to set? Air dry and/or dehydrator.
I’d like to have my daughter’s kindergarden class make them for a Valentine’s Day craft. This project looks like a lot of fun.
I have just tried these with 2 different recipes. One you baked , this one you did not. The ones you bake are very hard and I thought they were good, until they started crumbling. I tried this one and it didn’t seem to stick together all that well.I was loosing seeds as soon as I picked them up. I have modified this recipe and it is working much better. I have used 2 packets of Knox gelatin to the 1/4 of water. I too boiled the water in the microwave..no simmering.Then I added 3 tablespoons of flour…It makes a very nice paste. You have to work very fast, it hardens quickly. I can make 2 ornaments at a time. I am making these for a baby shower. Woodland ornaments to hang on branches for the centerpieces. I am hanging them on hangers until the shower so they do not get moldy. If I have to I may store in the garage where it is cold.They are a little waxy looking , but that is ok with me . I didn’t want birdseed falling all over the tables, or the church where we are having the baby shower. I wish I could upload a pic , but I don’t see where to do it .
I’m curious if anyone had placed these in a food dehydrator to speed up and ensure complete drying?
I just wanted to let everyone know my recipe turned out great. They did not get moldy at all. They did not crumble. Everyone at the shower complemented me because they have tried to make these and they crumbled. Mine held together wonderfully.
Hello, i think that i saw you visited my website thus i came
to “return the favor”.I’m trying to find things
to improve my website!I suppose its ok to use a few of your ideas!!
Hello! I am a canon fan.
I would like to thank you for this great
post. I certainly loved seeing it.
I have already signed up for your RSS feeds and would like
to ask do you have and email list? would enjoy reading your
news in my inbox!!
Thanks again!!
Candy, So happy that they turned out great!!! I always love hearing my readers comments and tried and true experiences!! xo
We are taking our youth group camping tomorrow night. This is one of the activities we will do and what a great place to do it We wont have to worry about having to clean up the seeds and we can leave the treats for the birds when we leave! Im so excited! Thank you!
Can you use a different kind of gelatin?