We bought plain white Roman shades for our kitchen windows about 5 years ago from Lowe’s or Home Depot, I can’t remember which store. We have 3 places that we use the shades…one over the kitchen sink and 2 on our french door. The ones on our door started to look a little tattered from our Labby Lou Lou nosing them. She does what I refer to as the curtain dance when she wants attention or has to go potty. …it’s kind of funny at times (she pushes it back and forth, flips it away from the window, goes under it)… the bad thing is we never know for sure if she really has to go outside until we get up to let her out and she’s not interested. She never barks… side note, if you have a Lab, does yours bark very often??
Back to the shades….
We decided to go with the exact same shades because we are still really happy with them.
Here are the details of what I’m doing in case you’re interested in my jazzed up version 🙂 Other people have probably done this before, so if you’ve seen this in blogland sorry for the repeat…
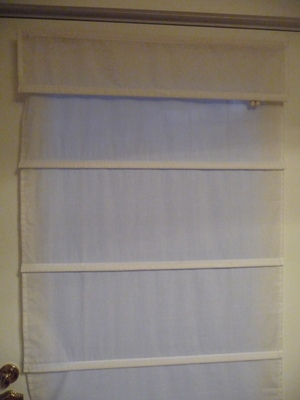
Here’s our current plain shade….
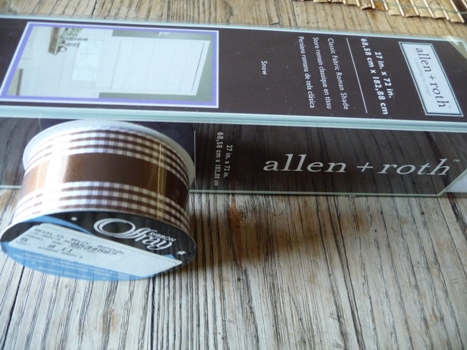
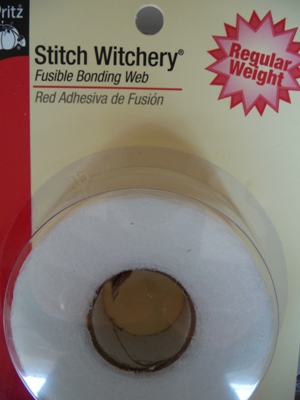
I purchased some ribbon at JoAnn fabrics (used my coupon like I knew I should) also bought some stitch witchery along with new shades from Lowe’s.
Next I decided where I wanted the ribbon to be located on the shade. I almost did the whole outer rim, but switched to this design at the last minute. Next I removed the stays from each section… Now to find something to measure with….
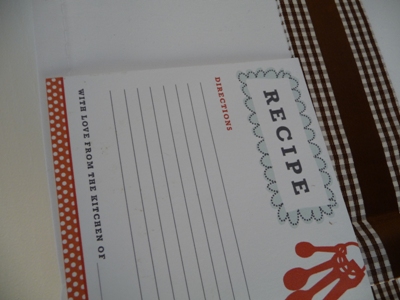
Here is what I decided to use for my guide…a recipe card 🙂 I had to find something that visually worked. I don’t know if you can see in the pic but I lined it up with the outer edge of the shade and the ribbon (I accidentally moved the card a tad when I snapped the pic)
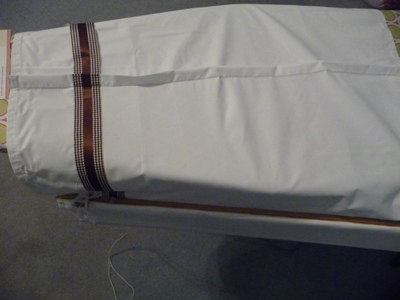
Next the ironing process….. I cut pieces of the stitch witchery and laid the ribbon on top and ironed the ribbon down. There is probably a better way to line up the ribbon…maybe a yard stick. It might be easier to glue or find stitch witchery that you can iron to the ribbon first. This is how I did it…often without a real long thought out plan.
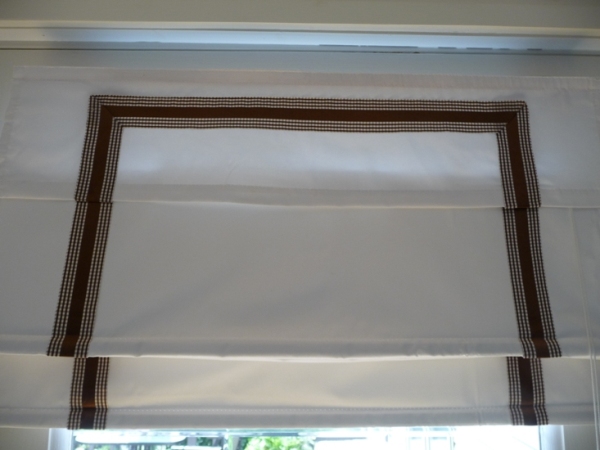
I proceeded to add ribbon down both sides of the shade and a little section across the top.
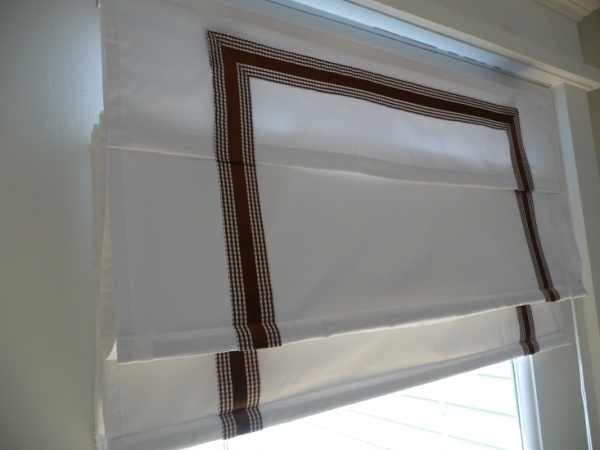
Now on to the next window! PS I didn’t sew the corners of the ribbon in the photo below… I just folded it and added stitch witchery under the ribbon and pressed it….worked out great!!.
Linked up to Made by you Monday,


Wow this so great! Love what you did with the ribbon.
Thanks so much for following me i came by to say ‘Hi’ and follow back..:) So nice to meet you. I already love your blog and can’t wait to read more and get to know you more…!!
Blessings,
Ruth
Underneath His Wrapping
So I love the Roman shade idea! I have been thinking about what I wanted to put in my kitchen for over a year now, so maybe I’ll use your idea.
Thanks for stopping by Amber’s Articles. I hope you do join us for Journey of Faith Friday. I love to hear of God’s goodness and grace in peoples lives.
I look forward to reading more of your posts.
Your ribbon addition looks so good!
Love it! I have a door in the house we rent that is all window and I just couldn’t decide what to put there. Thanks for the inspiration!
Stunning, really. I love it!
GORGEOUS Rene’! THEY look custom and expen$ive! GREAT idea! THanks for your sweet comment on my pergola! New follower too! 😉
What great idea! I can’t believe how beautiful you made a simple white shade:)
I love the shades. I love that you used a grown up ribbon. It looks clean and modern. Thanks for sharing the great idea.
Thank you for visiting my blog! I am already following yours. I love Roman shades and have been thinking of putting one up in the bathroom. Thanks for the tutorial – I may be referring back to it!
xo Erin
I love the ribbon detail! It glams the shade up so much : )