(I decided to repost this this craft that I posted originally for Christmas in July))
Hand rolled beeswax candles…. natural/butter yellow
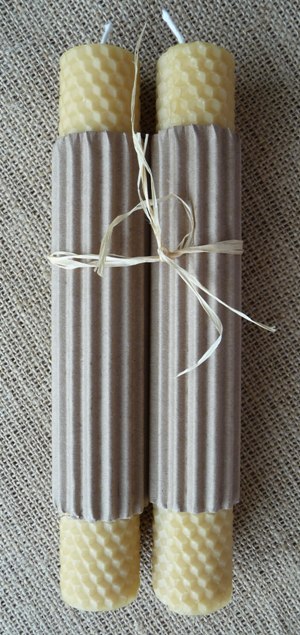
I starting rolling candles about 18 years ago when my son was in second grade and haven’t stopped since…kidding 🙂
I always enjoyed being a room mom/ party mom and had so much fun coming up with crafty/gift ideas for his class over the years. I remember wanting to do rolled candles with the children at Christmas one year but coming up with a supplier for honeycomb sheets was difficult in those days…. (now we have the Internet and everything is so accessible)… I finally figured out that I could look up businesses in a big directory at the library. Thankfully, I located a company called Better Bee out of NY, they happily sent me a box full of beautiful wax sheets and candle wick. The price over the years has nearly doubled and this particular supplier is no longer carrying the large assortment of colors like they use to. I think their focus is more on bee keeping and honey making these days.
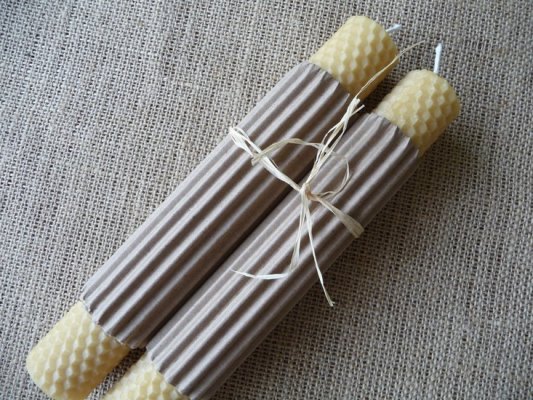
To make lovely hand rolled candles, you need to determine the size you want to make and the quanity…. next you need to order wax and wick from an online supplier. (listed at the end of the post) The sheets all come 8″x16″ and are running over a dollar per sheet. I made two 8″ tapers in the pic above….one sheet makes one taper…. The thicker the candle the more sheets you need. Also, wick ply is based on the thickness of the candle…ask your supplier for assitance, they will tell you what ply to get for the size candles you want to make.
After you get your supplies you can begin the fun and easy assembly process…..*side note(check on delivery times…we don’t have a problem right now because it is warm, but if you plan to make these in the winter, I would order before we have freezing temps…the sheets get brittle in the cold temps and can crack)…
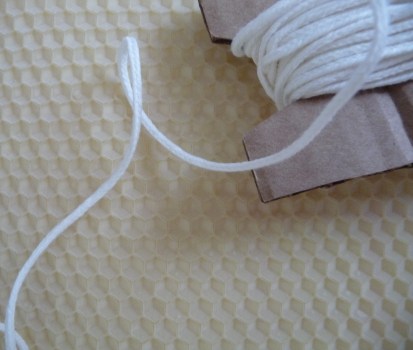
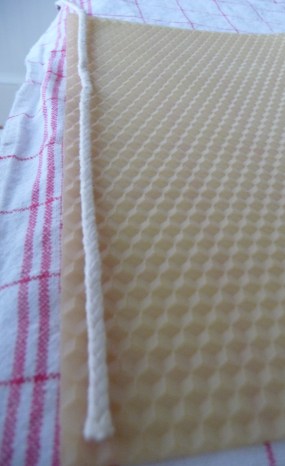
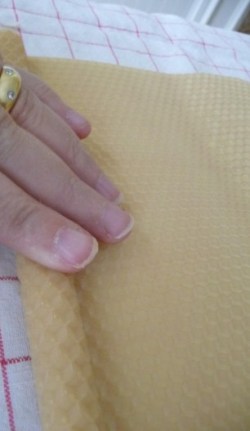
After deciding on the candle style you wish to make… you begin the assembly. First, take your 8×16 wax sheet and warm it up a bit with the blowdryer …this makes it more plyable…. then place your cut wick along the one end.
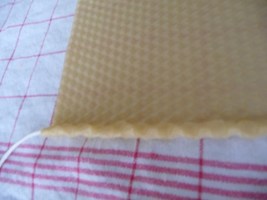
Next…. pinch over the wax to keep the wick in place.
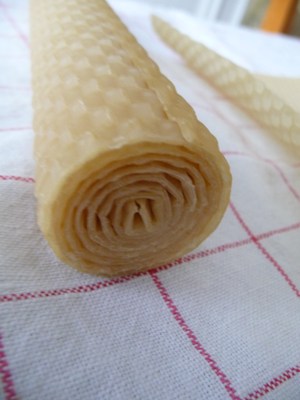
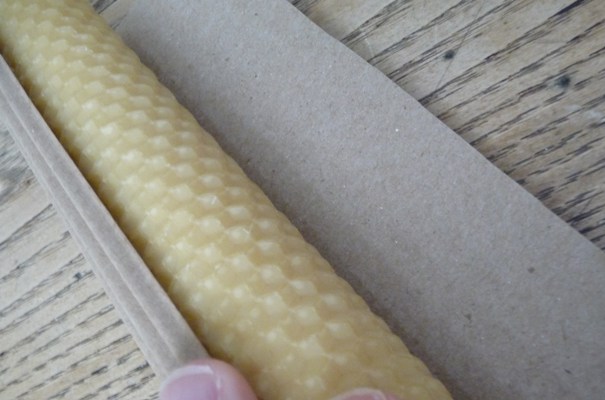
Now begin rolling with both hands, keeping your hands flat over the top of the candle, and adding equal amount of pressure as you roll. Watch the ends to make sure you are lining up the edges of the wax and keeping the candle tight..
Don’t look to close..I need a mani…
Keep rolling until you come to the end of the sheet. Carefully push the edge of the wax onto the candle to seal it and hold it together. …. hit it with the blow dryer just a bit if needed…
I just remembered how fun these are to make!! I use to give candles every year to my husbands coworkers at Christmas….for some reason I stopped these past few years, I think I’ll have to start back up… I’m on a roll!!!
I decided to wrap the tapers in some corragated paper that was left over from my previous crafty wall project…. This stuff has so many uses!!!
Then I tied them with a bit of raffia. A lot of times I wrap them in clear cellophane an add a bit of greens and hot glue a mini pine cone along with the raffia tie….I’ll try and add that pic later…
Tip… White and ivory wax is very versatile for Christmas gift giving, but this buttery yellow color is very pretty too . There are several suppliers online that offer a large variety of colors. I saw this particular supplier Candlewic that offers 30 different colors and a fun how to video… where they show you how to make 2 tapers from 1 sheet of wax. I hope you try making these candles sometime and you enjoy them as much as I do!!!
I love these.
I am doing a Christmas in July too…I guess I wasn’t as original as I thought…haha. I would love for you to link these up at my Christmas in July linky party too.
Hope to see you there!
Just Another Day in Paradise
Great tutorial — I’ve not seen that done before and candles always make a lovely gift for anyone. Thanks for stopping by. Jane F.
Rene,
You’re SO sweet for adding my blog button!! You know what’s funny, I had JUST had my graphics girl change the blog button design. But I still love the chandy & bird now that I see it again…..this is the life of a decorator, right?? We have way too many ideas & likes so it’s always changing & fickle….it’s like decorating in a house…..we move things around so many times, then sometimes we find that we like old pics of a room and have to change it back to that arrangement again! Ya know?
Anyways, we’ve been redesigning the blog daily cuz it’s a process to change out stuff …..I think what I’ll do is get the blog buttons from all my fave blogs (incl yours of course!) and have those on the side, vs. all the titles only…..cuz your blog button is too cute. So, it’s an evolution but I’m having to have the new look finished in a few wks….just tweeking the last few things on the blog.
Have a great day and thanks for those uplifting comments ….i REALLY appreciate your friendship and your great design style too!!!
xoxo,
j
Thank you all for your candle comments!
J…I appreciate your friendship too and your amazing style!!