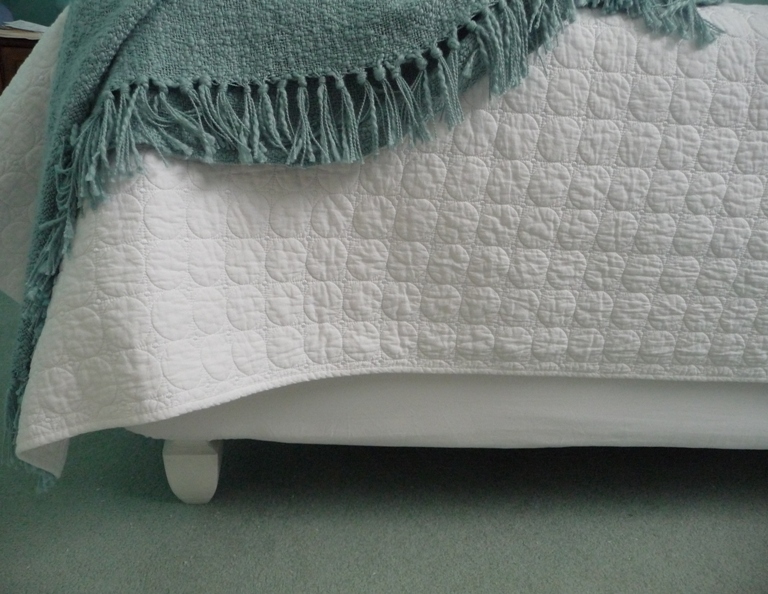
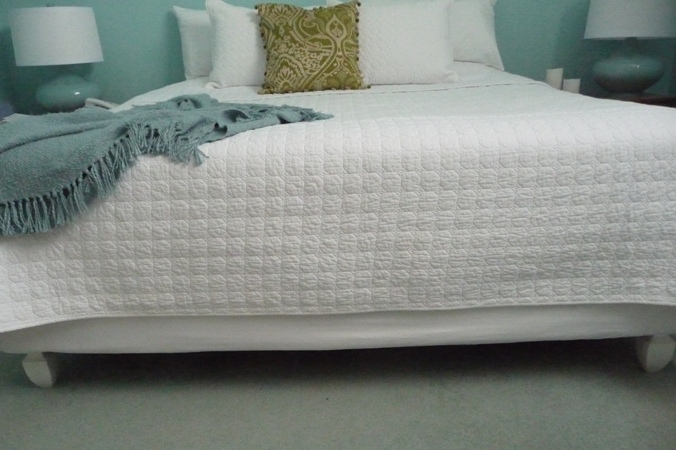
My husband and I are doing simple updates to our bedroom. Instead of using a bed skirt I decided to try a bit more modern approach. So with the help of my husband and mom, the first quick fix padded box spring, bed frame, fixer upper project is done. Next, we’ll work on the headboard, walls and flooring (I hope). Yes, we live in a sea of turquoise and yes it was like that when we moved in 7 years ago..
I’ll try my best to explain the process of this bed fixer upper….. I’m not great with the explanations, but here we go….. This is the super Easy Method A…In another post, I’ll share the not as Easy Method B… where I staple, Velcro and spend a bit more money. I want to share both methods so if you are interested in doing this you can pick which is right for you. I’ll be sharing Method B in approx 2 weeks.
Here is the before….. just a plain King size box-springs bed with the mattress removed..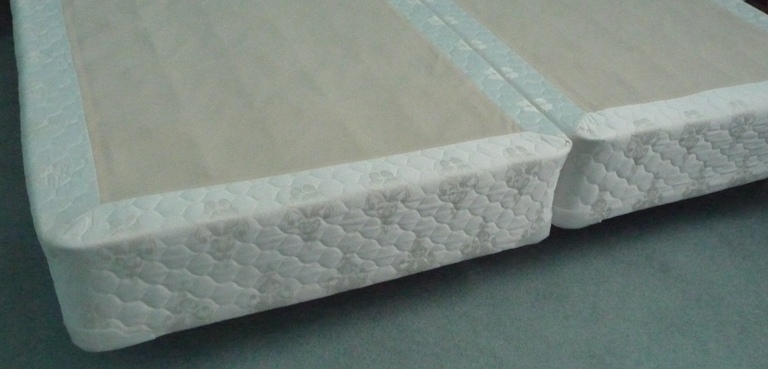
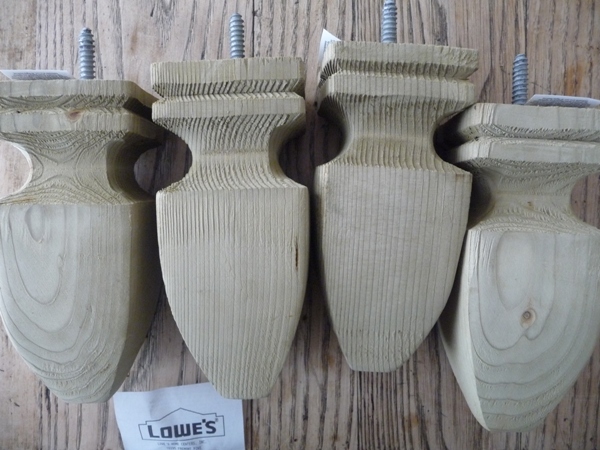
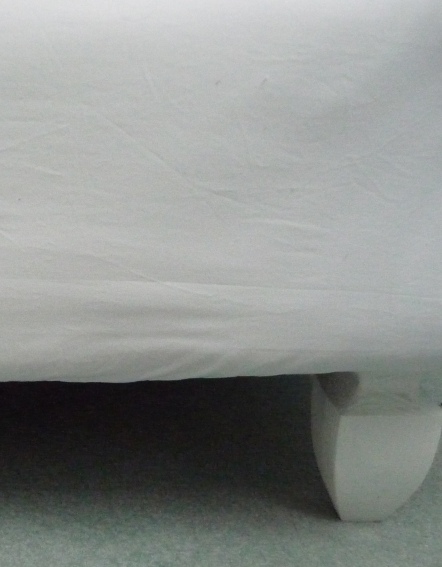
The feet we’re using are actually fence post finals from Lowe’s. They are the perfect length (7″) for our bed. They cost about $3. each. We actually only used 2 total- 1 for each front corner. We don’t even see the back feet the way our bed is situated. (Measure from the bottom of your bed to the floor to determine the height of the leg you need)
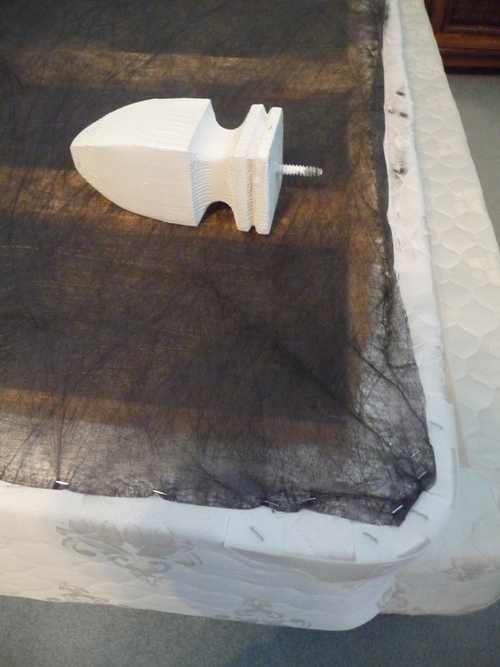
I painted the legs white.
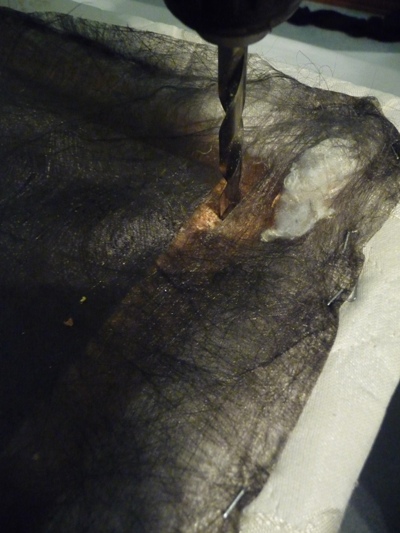
Decide where you want the leg and drill a hole.
Screw the leg in.
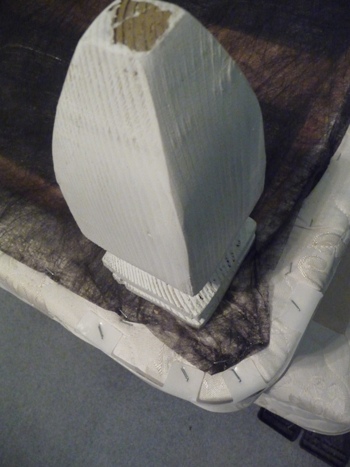
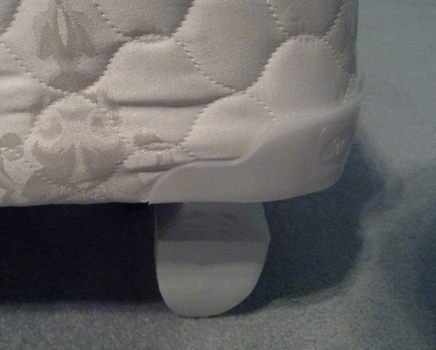
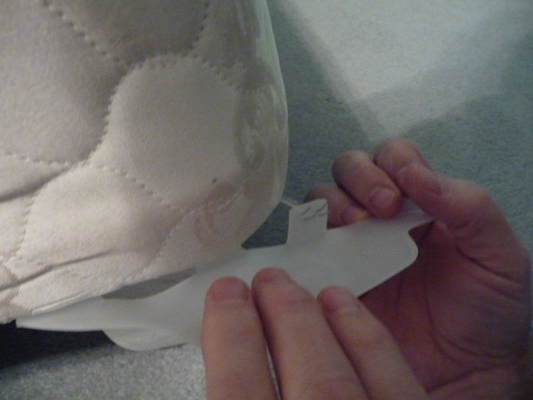
We pulled off the plastic corner covers…this probably wasn’t necessary because we added padding.
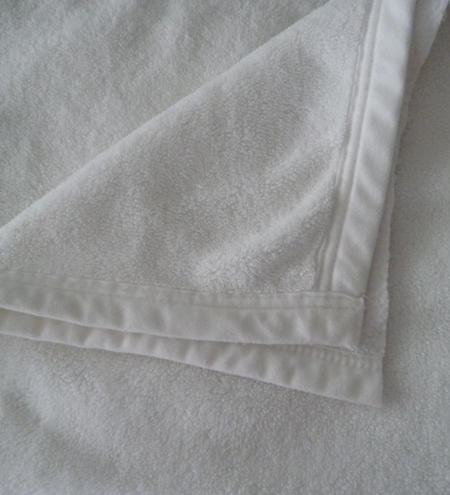
Now we put on the slipcover, which is basically a king size fitted sheet. Thankfully,it fit really well, but I quickly realized we needed a little padding along the sides to help smooth over any areas of the mattress frame that stuck out. I decided to use a white blanket that we had in our closet instead of regular padding, since we were under a level 2 snow emergency when working on this project and the fabric store was closed.
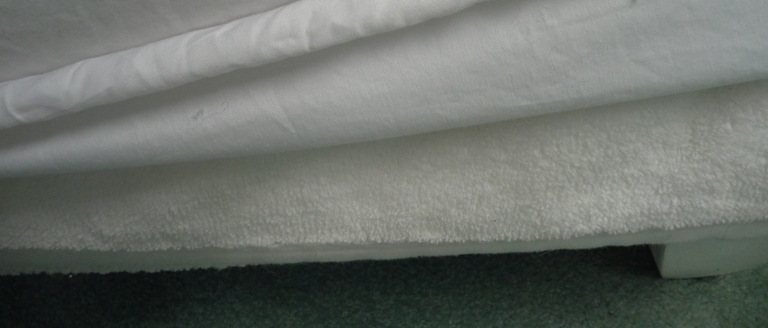
We doubled the blanket and cut this in 3 long sections. We made sure it was wide enough so it would tuck under the matteress and stay secure. See the blanket under the sheet? (Thanks mom!)
Time to pull it down and smooth out any lines.
Thanks for visiting! Don’t forget to click on my google friend connect and let me know you were here so I can come and visit you too! 🙂
PS. In this easy version A the bed frame is still attached and the legs under the bed are still used as supports. The front legs are used as decoration at this point.. The way our bed is situated you don’t get a full view of the side of the bed so you don’t see the leg attached to the frame underneath. If you have a full side view of the bed and you are interested in doing something like this you would have to remove the leg and come up with some other way to support the bed or put a stool or some thing decorative just in front of the bed frame leg….I’m just trying to share little tips and extra things I thought about after I posted the above info 🙂
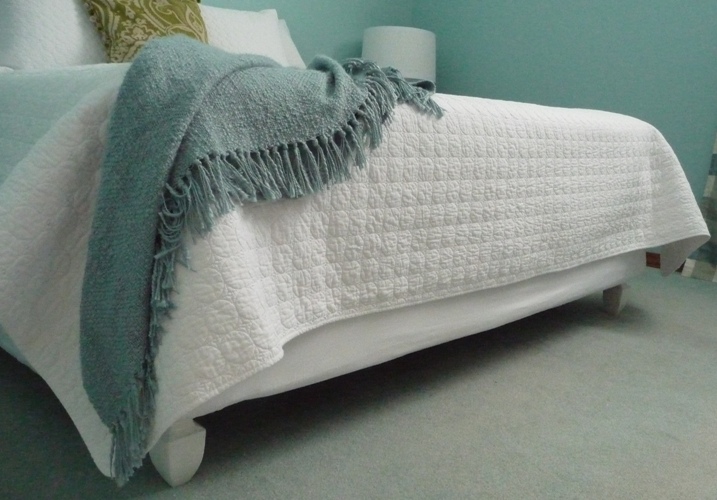
Now that’s thinking out of the box…looks great!
Blessings,
Linda
Linda..hehe
Excellent idea! I am going to be making a quick trip to the hardware store. I can’t wait to get this project accomplished. Thank you!
great idea Rene…..but i love the turquoise!
xoxo
What a great idea to use finials for the front legs!
This is an awesome, truly frugal solution! I love it!
Love this project! Looks like a Luxury Boutique Hotel Bed! Beautiful Work!
What a great idea. Was this really as easy at it looks? I love the clean lines and the color scheme of your room. Thanks for linking up!
Way to think outside of the box! This looks great!
Michelle 🙂
I love this fresh, clean look! I think this might just be the solution for our bed! Thanks for sharing this!
This is just what I have been thinking of doing in my bedroom. But I didn’t know how to. I’t looks lovely 🙂 Elegant for such a small price… and the slipcover. I hadn’t thought of that 🙂 Thanks for the inspiration.
Creative, thrifty and FABULOUS! Love it.
I featured your project on my Fab Friday Favorites today.
Cheers!
julie
I LOVE your bed! This is such a great idea. So glad I came across your blog. I’m a new follower.
This is really intriguing. Can you tell me where part 2 is? I’m not able to locate it.
sorry, part two has been postponed until we do a total room renovation