Are you interested in adding simple text or words to a photo and don’t
know how to do it? Picnik is an easy place to do just that!!
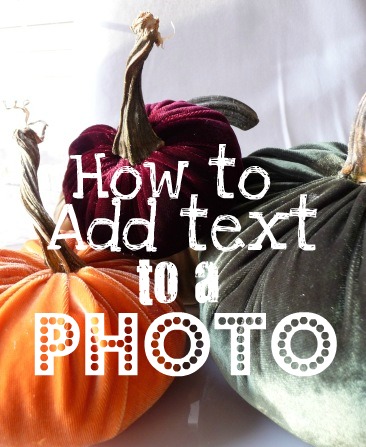
Above you can see that I added the following text to a picture “How to add text to a Photo”.
Here is how I did it just in case you are interested.
1. I just went to www.Picnik.com and downloaded a picture.
2. I clicked text in the upper tool bar.
3. I typed “how to” in the text box located in the upper left area below basic text….then I clicked add.
4. The text will look really big…. so I shrunk it down by clicking on my words “how to” …that brings up the
properties box to the right of the photo. That is where you change the size for the font by simply sliding the size bar…you can also change colors and all kinds of good stuff.
5. you can click on a font in the left side bar and it will change the current font.
6. Every word you click on will bring up the text properties box so you can make changes.
7. To move the word you click on it and drag it anywhere.
8. After you are finished you click save and share…located in the upper navigation bar.
9. You can name the file and save it to your computer. (just remember where you saved it)
Tip: (after you are done with a particular word just click the white area outside the photo
and it will allow you to start on the next word….do this each time you want to work on a different word or line of words.)

Happy Tuesday! Adding text us one of my very favorite things. Great tutorial! Next time I am asked, I am directing them to you! Love to you, Rene!
I LOVE this post! Thank you so much for this tutorial. I LOVE picnik!
Thank you for this “how to” on adding text to a photo. Can’t wait to use it on my classroom blog!
Hi Kim, I’m so glad it was helpful to you. Yeah… for classroom blogs!!
I’ll come and check it out!
Thanks so much for this it is exactly what I was looking for! BIG HUG