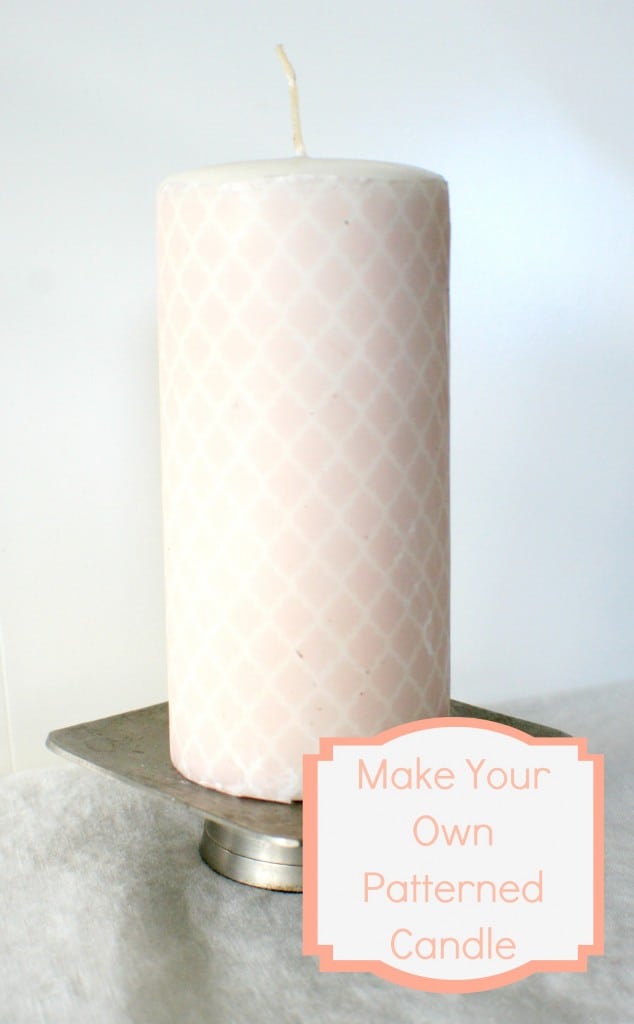
I love accessorizing my home with candles-I have them everywhere…not that I often light them with the three little guys racing about but still, they’re pretty! Sometimes however you want more than your average plain pillar. Today I’m going to show you how you can easily make your own patterned candles customized to your decor.
Thank you Melissa from A Happier Homemaker for showing us how to make these candles!! I’m excited to learn!!
Supplies:
Plain White or Ivory Candles
White or Ivory Tissue Paper (must match your candle color)
Computer and printer
Wax Paper
Heat Gun (can be bought at any craft store for about $10-15)
1. The first step is to determine what kind of pattern you would like on your candle. For my candle I wanted a quatrefoil pattern in a soft, feminine pink. I googled “free quatrefoil pattern” and found and downloaded this bundle from Little Pink Strawberries.
2. Next I opened up PicMonkey and inserted a picture (any old picture will do.) I then used the overlay button to create a large white rectangle over my entire picture to give me a blank slate to start from.
3. Now click Your Own at the top of the Overlay Menu and find the quatrefoil jpg in the pop up menu. Once your image is on the screen radjust to the desired size and then right click the image. Choose Duplicate Overlay to create a copy of your image. Start tiling images repeating the Duplicate command until the picture is completely covered.
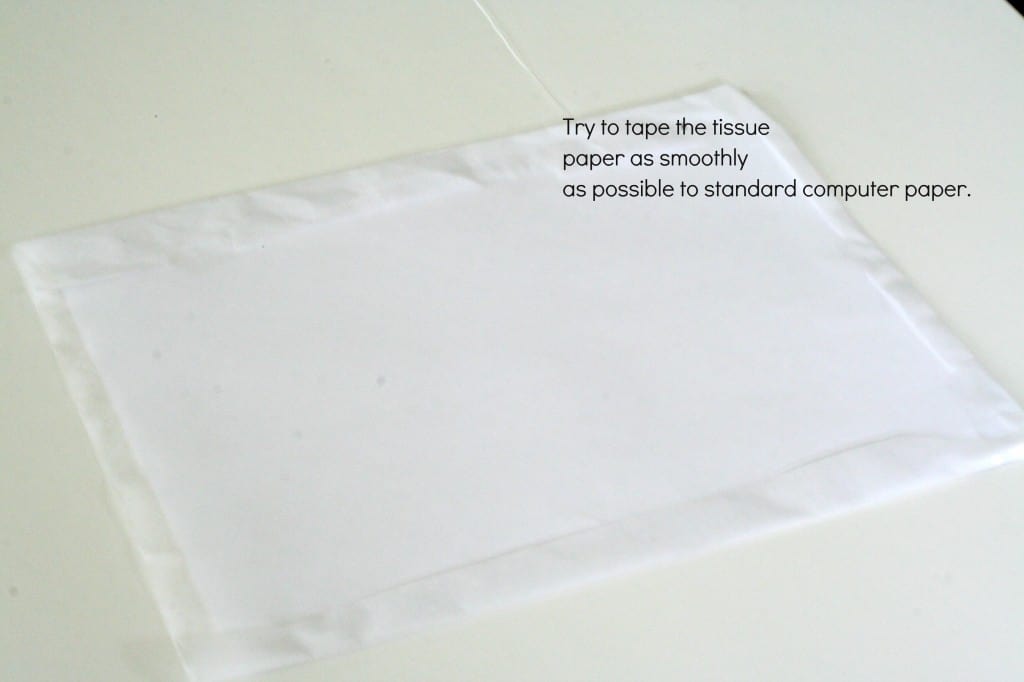
5. Cut your tissue paper approximately 10 by 13 and lay a sheet of computer paper on top. Carefully tape the tissue paper around the computer paper to cover it. Try to make the paper as smooth as possible to prevent paper jams when you run it through your printer.
6. Print your saved image carefully guiding the tissue paper/computer paper combo through the paper feed. (Be sure the tissue paper side is the side that will be printed on!!)
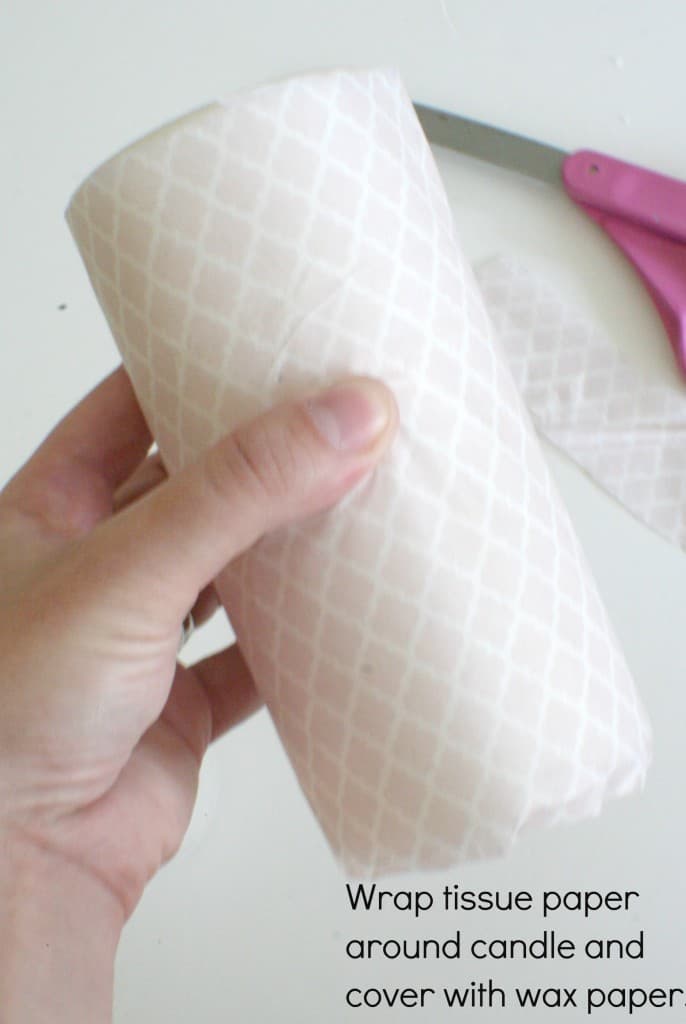
7. Once your tissue paper has your pattern on it cut it away from the computer paper being careful not to rip it. Trim paper so that it wraps around your candle as desired-a tiny overlap is fine. Wrap the tissue paper around the candle and cover with wax paper (the wax paper does not have to be trimmed exactly.)
8. Using your heat gun, heat the wrapped candle. (Watch your fingers-heat guns get extremely hot very fast and will burn you!) You will see the wax melting, keep the heat gun moving. You want to just barely melt the wax evenly over the surface of the candle. The melted wax from the wax paper incorporates the tissue paper onto the surface of the candle.
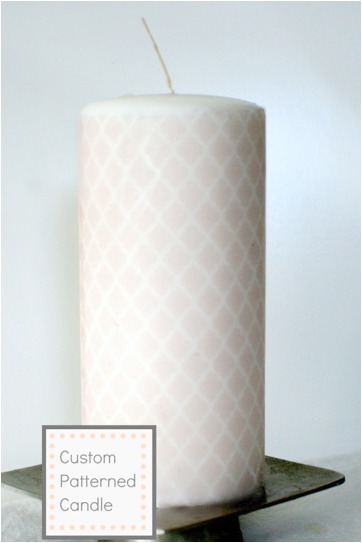
9. After you melt the entire surface of the candle carefully peel the wax paper away to reveal your new, improved custom patterned candle! Go ahead and give yourself a pat on the back while you’re at it!
Thanks again Melissa from The Happier Homemaker for sharing your custom candle!!


Your candle is beautiful Melissa!!! Thank you so much for the tutorial!!!!
Love this! Question – could you use a hairdryer set on High in place of the heat gun?
Katherine I have not tried that personally but I’ve heard that you can. That being said it can’t hurt to try it out!
What a great idea. Thanks for the steps.